
Acrylic Paintbrush Tactics – For the Portrait Artist
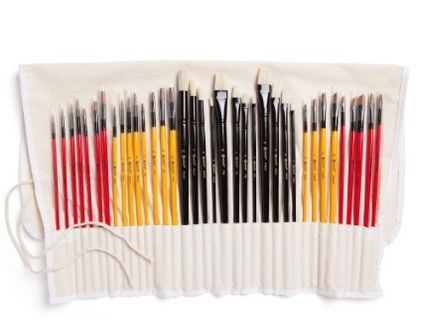
Paintbrushes
There’s a dizzying variety of brushes to choose from and extremely it is a matter of preference regarding which of them to acquire. Synthetic brushes be more effective for acrylic paints and Cryla brushes are great quality. Again, better to purchase a few high quality brushes when compared to a whole load of cheap ones that shed many of their bristles on the canvas. Having said that a number of fairly cheap hog hair brushes are good for applying texture paste and scumbling.
The biggest guideline when working with acrylics isn’t to permit the paint to dry on the brushes. Once dry they may be solid even though soaking them in methylated spirit overnight softens them a bit, they generally lose their shape and you turn out chucking them out.
Our recommendation is that portrait artists invest in a water container that enables the artist to rest the brushes on a ledge so the bristles are submerged in water with no bristles being squashed. The artist then wants a rag or even a bit of kitchen towel handy to take away any excess water when I next want to use that brush again. This saves needing to thoroughly rinse each brush after each use.
Brush techniques
Brushes need to be damp although not wet if you use the paint quite thickly since the paint’s own consistency may have enough flow. If however you’re looking to make use of a watercolour technique then your paint should be mixed with a lot of water.
Make use of a loil brushes and for more detailed work use a thinner brush having a point. Contain the brush closer to the bristles for increased accuracy or even further if you need more freedom with all the stroke. Start your portraits by holding a sizable brush halfway up to quickly supply the background a colour. Artists shouldn’t be so worried about mixing the precise colour as they are able often mix colours on the canvas by moving my brush around in numerous different directions.
One method to a family event portrait artists is usually to start the face using Payne’s Gray to add the shadows before you apply a relatively opaque background of flesh tint when the shadows have dried. After that build-up skin tone with lots of different coloured washes and glazes.
Two various ways may be explored here by the portrait artist:
• Mix up a large amounts of the colour for the palette with plenty of water and use it liberally for the canvas in sweeping movements to generate a total tint.
• Or ‘scumbling’, which is where your brush is fairly dry, loaded just a quarter full and dragged across the surface in all of the different directions allowing the dry under painting to demonstrate through.
Symbol artists make use of the scrumbling technique a great deal particularly if painting highlights and places where light hits your skin like about the tip from the nose, top lip, forehead and cheeks. The scrubbing motion tends to wreck fine brushes so just use hog hair brushes just for this.
Most of the symbol was made up using glazes of all different colours. The portrait’s appearance can adjust quite dramatically at different stages leaving subjects looking seasick, jaundiced, embarrassed or like they’ve seen a ghost along a great deal of heavy nights out.
Look for subtle shades, like there’s often yellow and blue in the skin tones under the eyes, pink for the cheeks and under the nose, crimson red on lips and ears and greens and purples within the shadows around the neck and forehead.
Finally, use fine brushes for adding details like eyelashes. Assistance should your rest your kids finger for the canvas to steady your hand with this details stage. At the end of all of this you will hopefully have a picture seems lifelike and resembles anyone or family you are hoping to capture on canvas!
Check out about paint brush set explore our resource: this